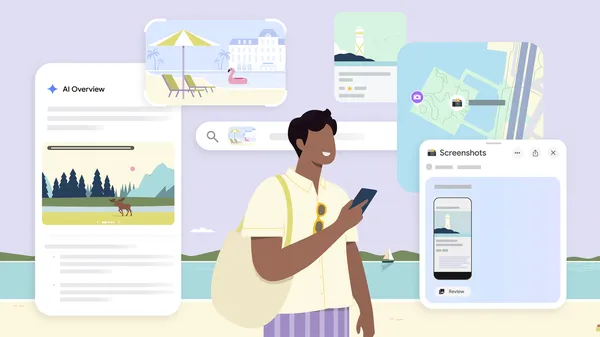
How to save your screenshots to Google Maps

If you ever have trouble keeping track of all of the screenshots you take of travel blogs, news articles or social media posts when you’re researching places to go for an upcoming trip, you’ll want to try out this new Google Maps feature. It uses Gemini capabilities to find names of places in your screenshots and helps save them to a list for you, making travel planning a breeze. Here’s how to use it:
How to screenshot to save in Google Maps
- Navigate to the You tab.
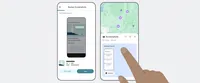
- At the top of the You tab, you’ll see a Screenshots list with a badge that says "Try it out!" Tap the badge. This will open a video showing you how the feature works — you’ll even be able to test it out alongside the video.
- You’ll see a request to allow Google Maps access to your photos. Choose when it has access. (There’s also a manual option if you don’t want to give Maps full access, more on that later.)
- Next time you take a screenshot that includes the name of a place, head to Google Maps after.
- If Maps recognizes a place, a message will pop up telling you that it has places ready for you to review.
- Tap “review,” and decide if you want to save the image to your screenshots list or not. (You can add these images to other lists later, too, if you want.)
- You also have the option to upload screenshots manually: When you’re in the app select the Screenshots list under the You tab. From there, you can upload screenshots manually. The rest of the process is the same!
- You’ll see the saved places directly on your map or can get to the list through You tab to access while you’re on the go.
Now you’re all set to enjoy your upcoming journeys — without fear of losing out on a must-see spot because it got buried in your screenshots.